
How to Measure Storefront Windows for Vinyl
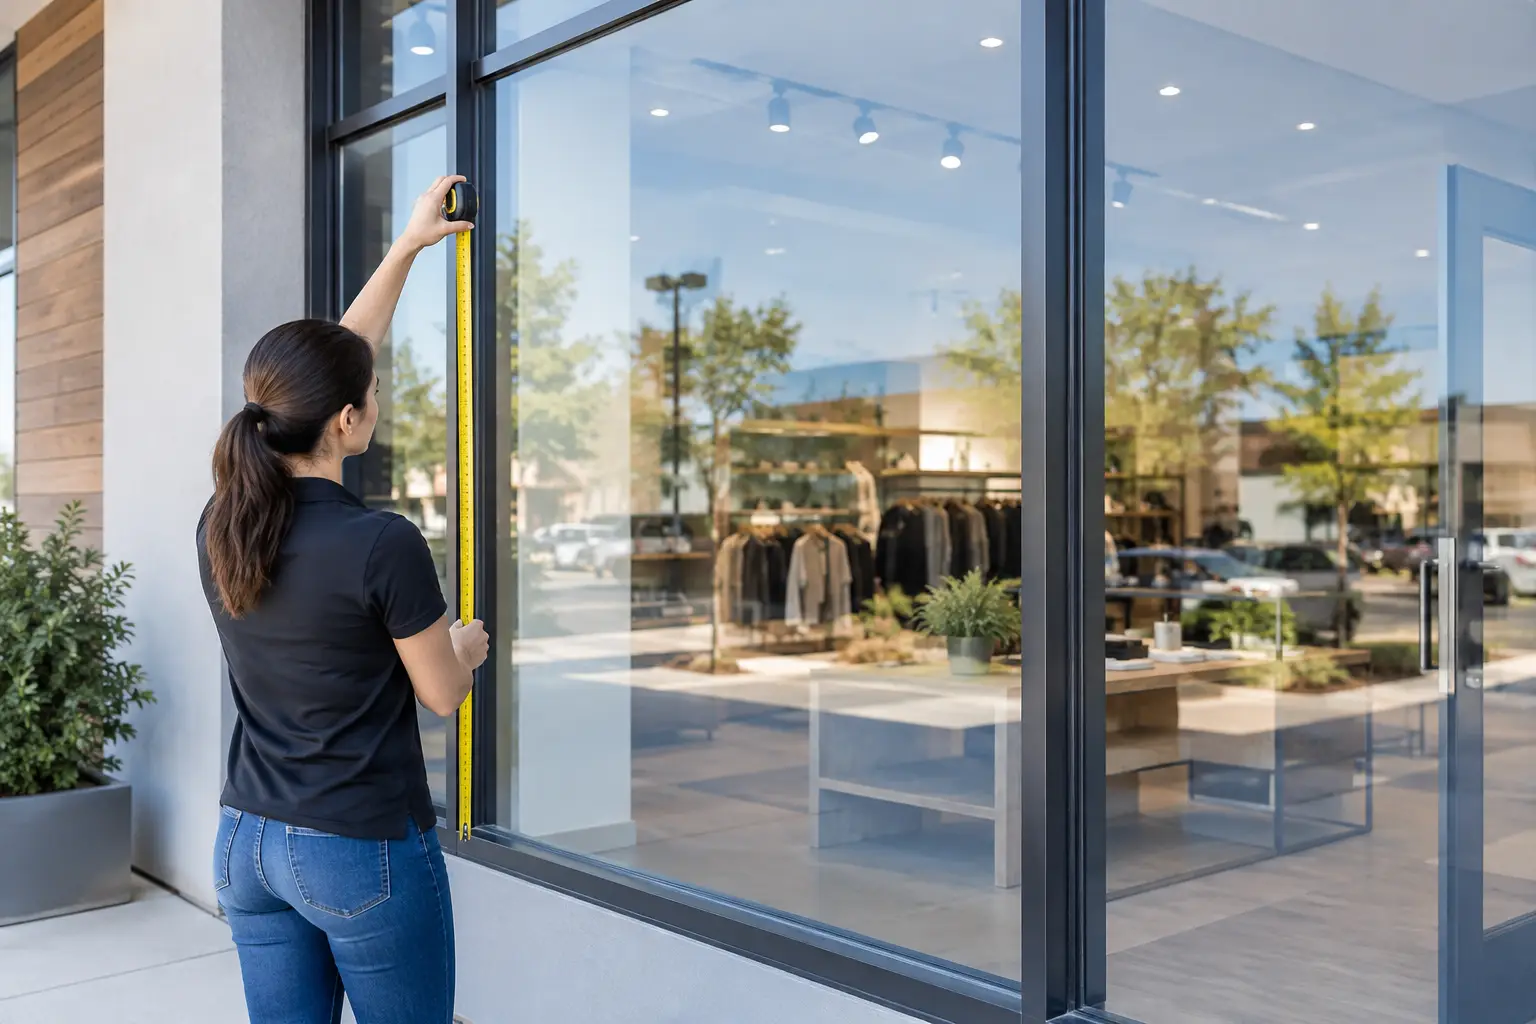
A storefront window has only a few seconds to tell someone they are in the right place. Whether it shares your business name, welcomes families to a church, explains a nonprofit’s mission, or adds a calming message to a wellness office, the fit matters. When you measure storefront windows carefully before ordering custom vinyl lettering or graphics, your message has room to be seen, understood, and remembered.
The good news is that you do not need design experience to get useful measurements. A tape measure, a few notes, and a quick look at how people approach your entrance can provide the details needed to create a design that feels made for your space.
Why storefront window measurements matter
A window may look like one large surface, but its usable space is often smaller than it appears. Frames, handles, mullions, door hardware, tinting, blinds, and existing signs all affect where vinyl can go. Measuring only the full glass width and height can leave you with a design that feels crowded, gets interrupted by a frame, or is difficult to read from the sidewalk.
Thoughtful measurements also help guide the design itself. A long, narrow pane may be a wonderful place for hours, a website, or a short welcoming phrase. A broad front window may have enough room for a logo and a clear description of what you offer. The goal is not to fill every inch of glass. It is to give your words and images enough breathing room to do their job.
What you need before you measure storefront windows
Bring a metal tape measure, a notepad or phone, and a camera. A metal tape is usually easier to hold straight across wide panes than a flexible sewing tape. If the glass is high or difficult to reach safely, measure what you can from the ground and ask for help rather than stretching or climbing.
It also helps to decide what you want the window to communicate before you start. You do not need a finished layout. A simple note such as “front-door logo,” “office hours,” “scripture welcome,” or “donor recognition message” gives your design team helpful context.
Take photos straight on from outside, then step back and take one from the distance where visitors or customers first notice your building. Include the full window, frames, doors, handles, and nearby signs in at least one photo. These images often answer questions that numbers alone cannot.
How to measure storefront windows step by step
Start with each individual glass pane
Measure every pane separately, even when several panes appear to be the same size. Older buildings and commercial frames can vary slightly from one section to the next. Label each pane in your notes with a simple name, such as “left window,” “center door glass,” or “right window.”
For each pane, measure the visible glass from inside edge to inside edge of the frame. Record the width first, then the height. Write measurements in inches and keep the same format throughout your notes. For example: Center window, 72 inches wide by 48 inches high.
If a design will span more than one pane, measure the complete width from the far left edge of the first pane to the far right edge of the last pane. Then note the width of every divider between panes. Those vertical or horizontal bars are called mullions, but you do not need to know the name to measure them. Simply record where they land so important letters, faces, or logo details do not disappear behind them.
Measure the usable area, not just the glass
Next, identify anything that needs to stay clear. Door handles, push bars, locks, window cranks, security stickers, required notices, and shades may reduce the available area. Measure the open space above, below, or beside these features.
Leave a comfortable margin between vinyl and the glass edge. A design placed too close to the frame can look squeezed and may be harder to install neatly. The best margin depends on the window and the artwork, but noting where you would like the design centered is more useful than assuming it should touch every edge.
For example, a dental office may measure a 60-by-48-inch window but reserve the bottom 12 inches for existing safety information. The usable design space is then closer to 60 by 36 inches. That is the space your lettering or logo should be designed around.
Check doors separately
Door glass deserves its own measurements and a little extra thought. Measure the glass area as well as the location of handles, push bars, hinges, and locks. Think about how the door swings and where people naturally place their hands. A warm welcome, logo, or small directional message can work beautifully on a door, but it should never compete with safe, easy entry.
If your door has glass on both sides, decide whether the design will be viewed primarily from outdoors, indoors, or both. Vinyl can be applied to the outside-facing or inside-facing surface depending on the look, the glass type, and the level of protection desired. Mention this when discussing your project so the design and installation approach fit your situation.
Measure twice and photograph once more
Before sending your notes, measure each pane again. This small pause can prevent a frustrating mix-up between height and width or between two similar windows. Compare your numbers with your photos, and make sure your labels match what appears in the images.
A quick hand-drawn sketch is especially helpful for a storefront with several windows. It does not need to look polished. Draw rectangles for the panes, add widths and heights, mark door hardware, and show where you imagine the logo, hours, or message going. That gives everyone a shared starting point.
Plan for visibility from the sidewalk
A design can fit the glass perfectly and still be hard to read if the lettering is too small for its viewing distance. Stand across the street or at the edge of your parking area and look back at the storefront. What can someone read while walking by? What can they recognize from a car or before they reach the entrance?
Large lettering is often more welcoming than a window full of small details. A business name, logo, or short phrase can carry the main message, while hours or contact details can sit lower on the glass for closer viewing. If your organization has several things to say, your windows do not have to say all of them at once.
Color matters, too. Consider what is behind the glass during the day and at night. A light vinyl color may stand out beautifully against a dark interior, while a darker color may be clearer on a bright, sunlit window. Frosted vinyl can offer a softer, more private look for offices, classrooms, and wellness spaces, though it changes the amount of light and visibility through the glass.
Account for installation details
Clean, smooth glass is an excellent surface for vinyl lettering and decals, but the surrounding conditions still matter. Note whether the window has textured film, heavy tint, cracks, chips, condensation between panes, or a screen that makes access difficult. These details do not necessarily stop a project, but they can influence placement and installation recommendations.
Temperature and direct sunlight can also affect when installation feels most comfortable. If a front window gets strong afternoon sun, an early morning or later-day installation may be easier. For large graphics, it can help to have a second person available to hold, align, and gently apply the design.
Do not guess at the final graphic size if you are unsure. It is usually better to share your measurements, photos, and hopes for the space, then let the layout take shape with guidance. A custom design can be adjusted to respect a narrow pane, work around hardware, or create visual balance across an entire storefront.
What to send with your custom request
The clearest requests include the glass measurements, a labeled sketch, straight-on photos, and a short description of what you want to communicate. If you have a logo, send the best-quality version you have. If you are choosing lettering, include the wording exactly as you want it to appear, including punctuation and capitalization.
You can also share where visitors first approach the building and whether the message needs to be read from a distance. A school may want a bright, easy-to-read welcome at drop-off. A nonprofit may want its mission statement visible near the entrance. A small business may need its logo, services, and hours to work together without making the window feel busy.
At Wall Words, every custom project begins with listening to what your space needs to say. Bring your measurements and your purpose, even if your sketch is rough or your idea is still forming. With a little care at the measuring stage, your storefront can become a clear, heartfelt welcome to everyone who walks through the door.