How To Correctly Design & Display Custom Wall Lettering

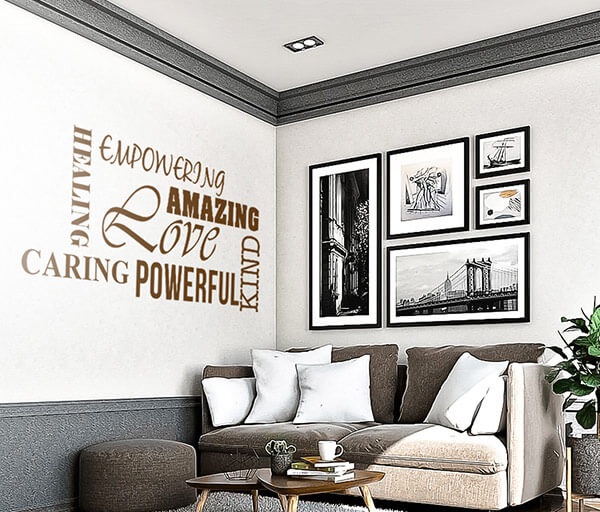
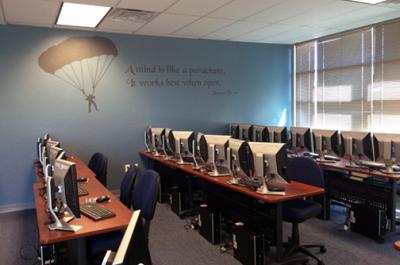
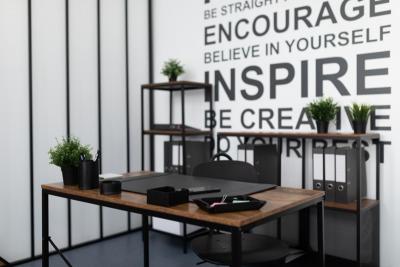
Tired of staring at empty walls? Imagine transforming those blank canvases into powerful visual statements that reflect your unique style or brand identity. With wall lettering, you can effortlessly elevate your space, whether it’s a home, office, or retail environment. Not only does it add a touch of personality, but it also serves as a functional tool for communication and branding. In this article, we’ll get to know the benefits, design process, and application techniques of custom wall lettering, unleash your creativity and turn walls into art.
Design Your Custom Wall Lettering
- Upload designs in JPEG, GIF, PNG, or SVG format.
- Ensure all images have a minimum of 150 DPI and do not exceed 16 MB.
- Choose from various existing designs from our categories like music, animals, fantasy, quotes, and more on our site.
- Write your own quote and select color, font, and alignment according to your needs.
- After designing, choose the right size for your wall.
- For optimal results, ensure vinyl decals' thinnest parts are at least 1/8 inch wide due to cutting machine limitations.
- Proceed to checkout by placing your order and completing payment.
The Process Of Making Custom Vinyl Wall Decals
- Your design is printed onto white vinyl decal material, ensuring vibrancy and durability.
- Skilled technicians meticulously cut the vinyl around the edges of your design, ensuring precise and clean lines while maintaining a minimum thickness of 1/8th inch for intricate details.
- The unused vinyl is peeled away, leaving only the customer's design intact on a waxy paper backing.
- A masking layer is applied over your design, protecting the vinyl graphic on both the front and back sides.
- The customer receives their carefully packaged decal, ready for application.
- We perform quality checks at each step to ensure your decal meets our high standards for clarity and precision.
Applying Your Custom Wall Lettering Decal
Surface Preparation
- Measure the area for the custom wall lettering.
- Draw a light guideline or use tape for alignment.
- Ensure the surface is clean and smooth.
- Cut apart words and arrange them in various ways.
- Tape the pieces in place first to plan the layout.
Prepare Quote
- Gently unroll the custom vinyl wall lettering and flatten it until it lies evenly and smoothly.
- Transfer tape should be on one side, backing paper on the other side.
- Rub the transfer tape to ensure that the lettering adheres firmly before removing the backing paper.
Application
- Peel the backing paper from the custom wall lettering, leaving it on the transfer tape.
- Carefully position the application where you want it, as it cannot be repositioned once placed.
- Place the quote on the surface, using guidelines to position the vinyl correctly.
Burnishing
- Use the burnishing tool to press out air bubbles.
- Apply pressure to ensure a solid bond.
Transfer Tape Removal
- Peel the transfer tape.
- Leave the lettering on the surface.
- Enjoy the new look.
Create Impactful Spaces Effortlessly
Transform your space with Wall Words. Enhance your home or business with unique designs that reflect your style and brand. Explore our easy-to-apply, cost-effective options today and see how custom wall lettering can make a lasting impact.


